

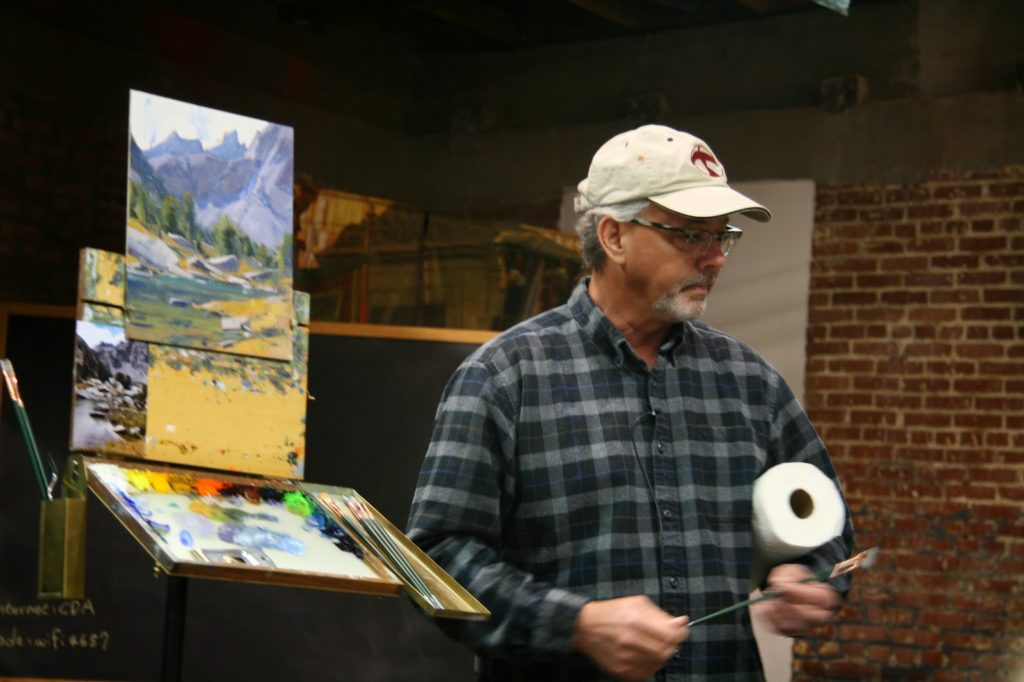
This week I had the great privilege of studying with Matt Smith, acclaimed landscape painter and inspiring teacher. He packed the workshop with lecture, demonstration, and individual instruction. I want to record some of what I learned here.
Painting from Reference
The workshop focused on the process of painting from photographs and plein air sketches. Matt approaches the photo reference with the understanding that the photo always lies at some point and often many. Ask, what’s wrong about this–value, color, perspective? Use your experience and memory gained in the field to correct your reference. Painting well from reference requires lots of practice painting from life. He encouraged us to crop our reference images, rearrange elements, and to consider different formats. Do not depend too much on your reference; use it as a starting point for your painting.

Matt’s reference photo. Notice how he simplifies and rearranges elements.
Painting Demo
Drawing Stage:
- Only tone the canvas if you have a reason to. In this case the foreground was fairly warm so he toned just that area. Keep the tone neutral.
- Before you get started know where the horizon line is, what the focal point is (what is this painting about?), and what the (3-5) big shapes are.
- Draw in horizon and large masses.
- Connect the darks (shadows)
- Think about the design. What will lead the viewer into the painting?
- Balance the painting left to right, top to bottom, and front to back.

The drawing stage is finished and he’s moving on to blocking in value and color. Notice how the darks are connected and how he’s created a line that guides the eye back to his focal point.
Block-In:
- Start with thin paint. (Matt’s only medium is Gamsol.) Paint the darks first.
- Put enough paint on the canvas to really tell if the value and color are right.
- Paint in other masses in relationship to the first–lighter, darker, cooler, warmer.
- Use a different brush for each major value/color shift.
- Paint in all the large shapes, then large variations within those shapes. This stage is about proportion and relationships.
- If the painting is about the shadows, simplify the highlights. If it’s about the lights, simplify the shadows.
- Work clean! Clean the palette often. Use a new brush for each major value/color change.

Almost finished with the block-in. Notice how he saves the sky mass until the others are established.
Fine Tuning:
- Paint variations within the darks and/or lights.
- Consider the differences between form shadow and cast shadow. Form shadow is usually not as dark because of reflected light bouncing back into the form shadow. Cast shadow has a bluer hue because of reflected light from the sky. Reflected light (in a shadow) is usually warmer near the reflected light source.

Notice how darks are still connected and masses are simple. You can see the difference between the form shadow and cast shadow on the distant mountain.
- Paint in the sky after blocking in the other masses, otherwise you may key it too dark.
- Use a crosshatching “velour effect” to create interest in the sky.
- Add touches of blue/veridian to lighten the sky near the horizon.
- Design idea: As Edgar Payne did, try putting the warmest tree in front of the coolest background. This will create a focal point.
- Cloud idea: Paint the warm violet shadow first. Use white and burnt sienna for highlight. Soften transitions.

See how he adds the snow and the cloud–first in shadow (above) and then in the light (below).
- Slow the movement of a strong downward stroke with perpendicular contour brushstrokes.
- Re-establish the darks if they get lost. This brings back the original underlying design and cleans up the drawing and perspective.
- Know how to build the paint: grey to rich, dark to light, thin to thick, large to small.
- Now amp things up–warm the reflected lights, work the edges, more paint, create planes that add depth.

Note the more intense blue in the water, the details of the tree trunks, and the slight adjustment of rocks in the foreground.
It was such a gift to study with Matt Smith and to be among such a generous and talented group of painters. I’m looking forward to assimilating what I’ve learned into my own painting process. It’s wonderful to have some direction and inspiration for the painting ahead!
UPDATE: Here’s the finished painting Matt posted later…
